
DIY: Help and instructions
On this page you will find some instructions and help to print my designs, identify, place and fix all different printed parts on the wall or on a frame. Also discover the originality of using multi-colored filament on this type of polygonal designs. Finally For those wishing to create their own design, a video tutorial explains (in French) the method I use with Fusion 360.
— Print Models —
— Identify parts —
— Place parts on wall or frame —
— Fix parts —
— Multi-colored filament —
— Create your own design —
Print Models
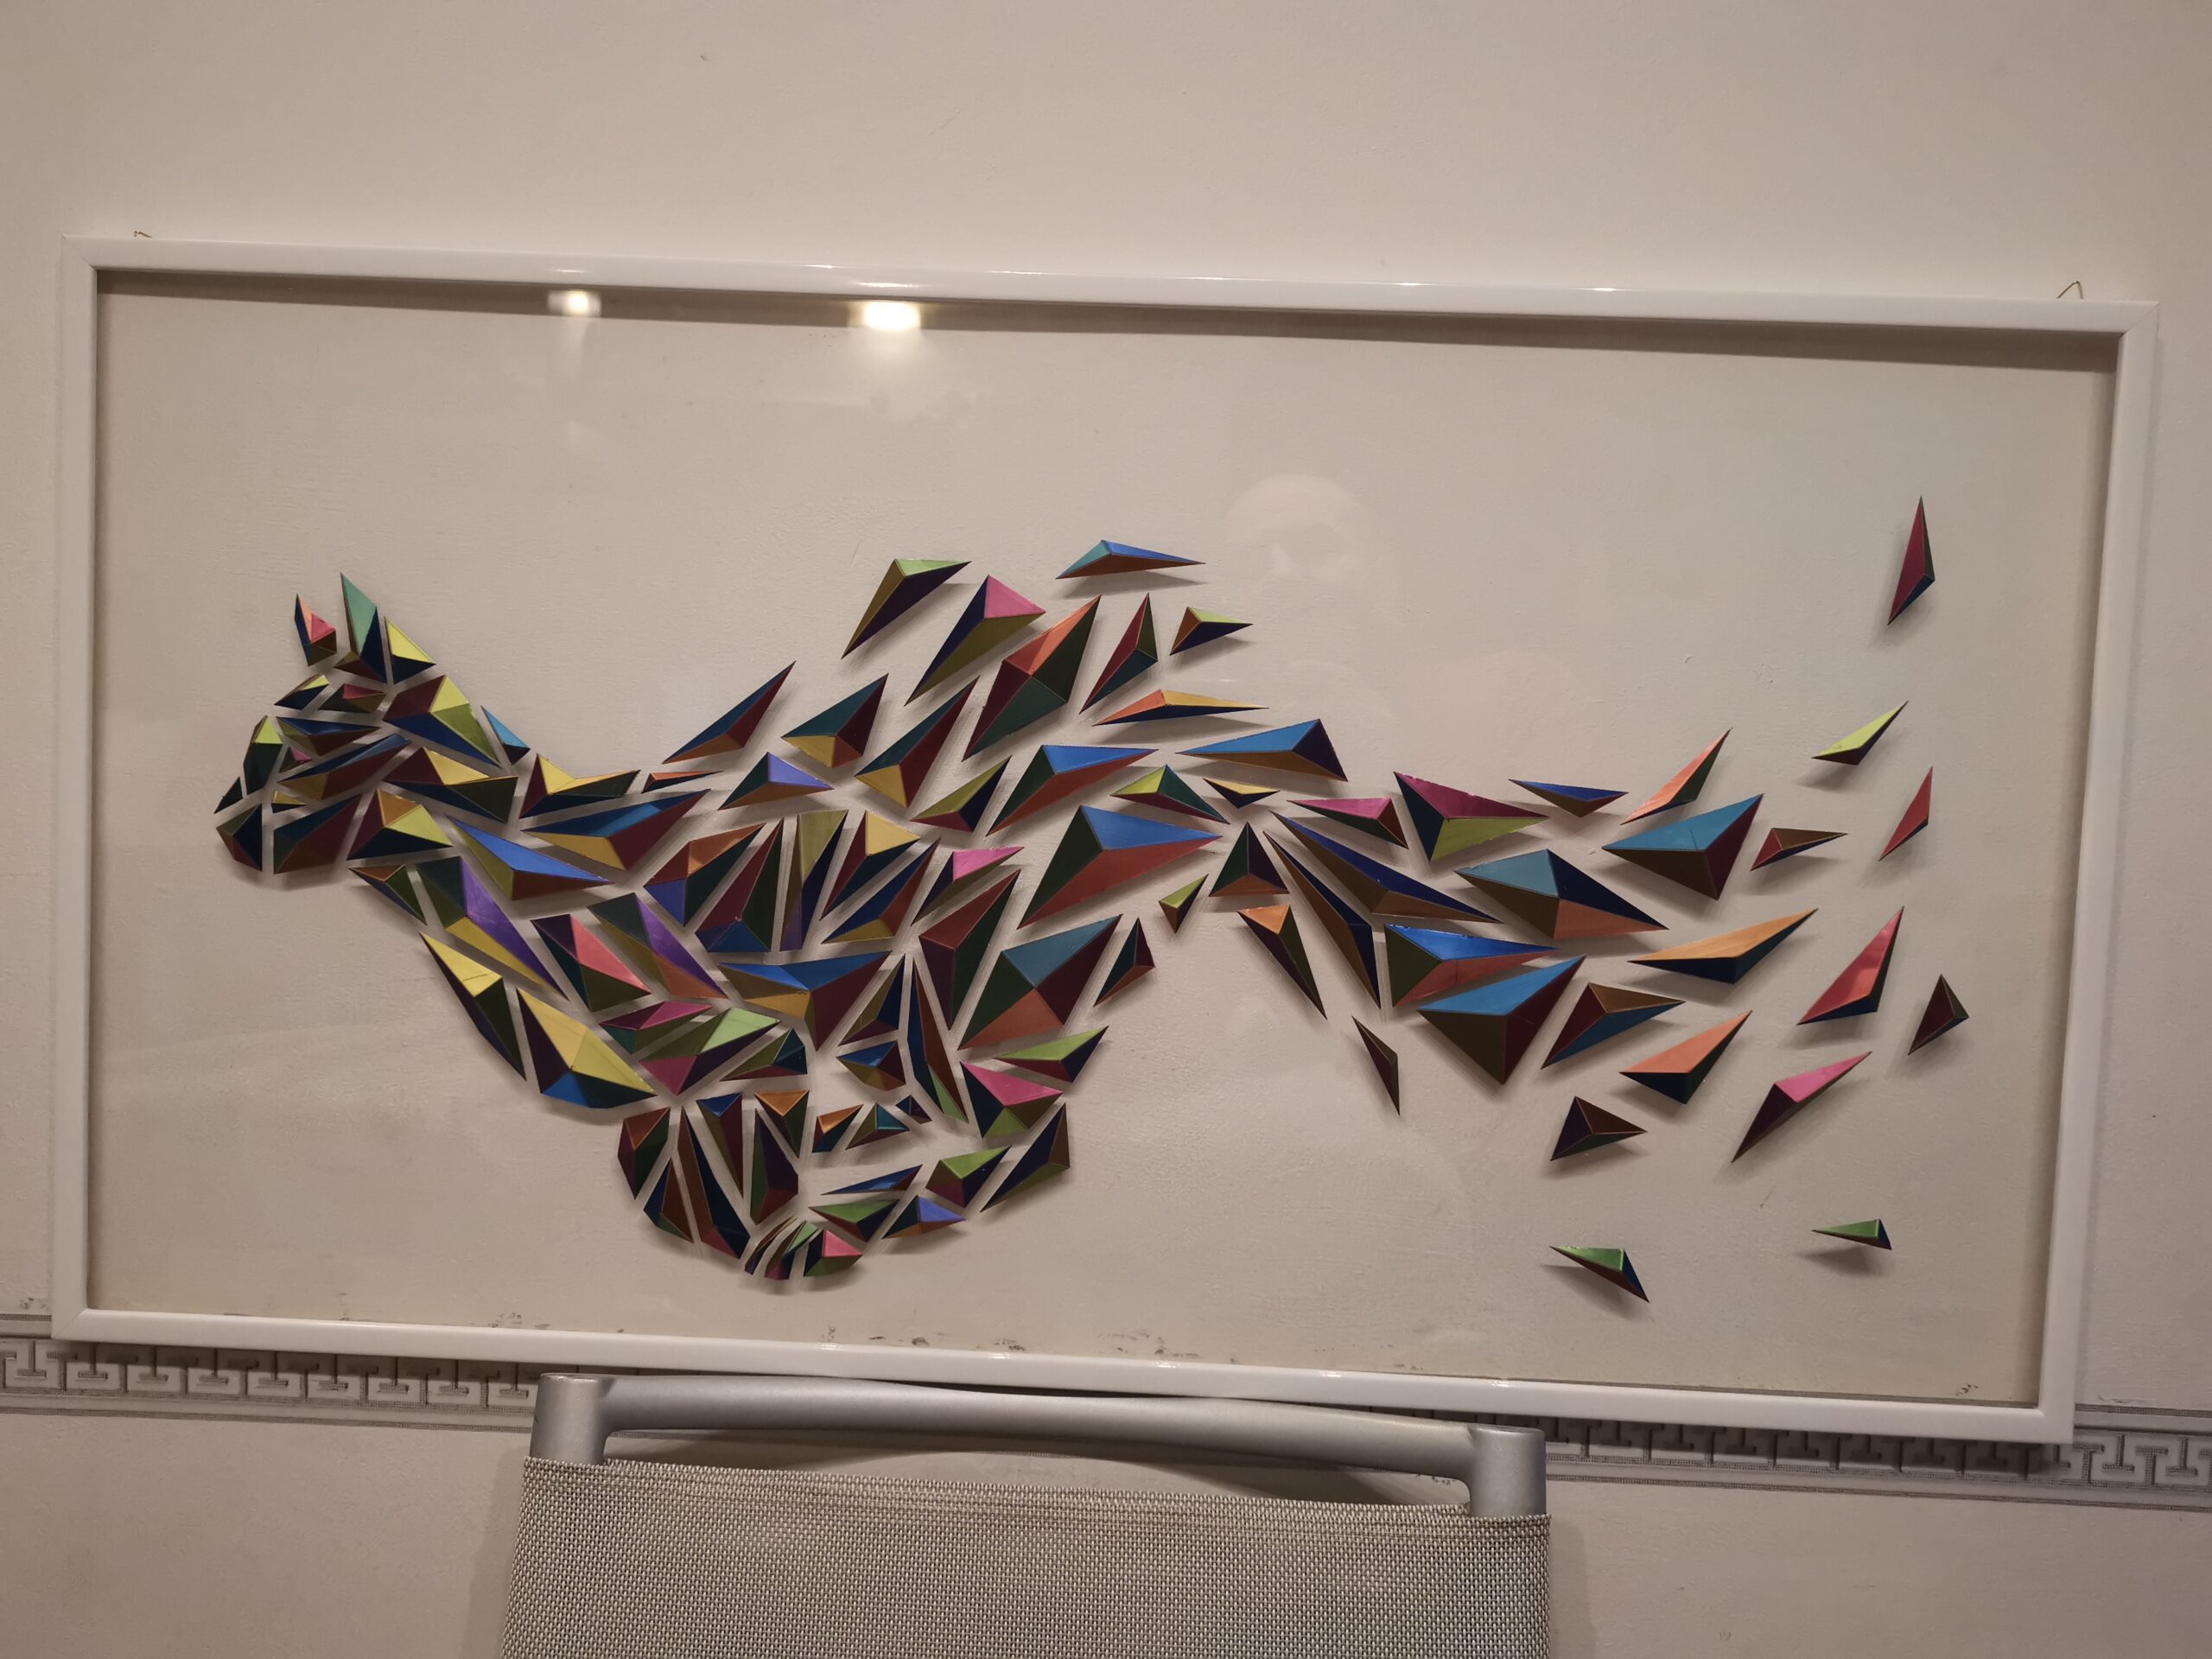
Models are made up of several parts, allowing them to be printed with a standard-size printer, to produce large-sized models.
Generally, all parts, without any scale changes, can be printed on a printer with a 22x22cm bed. (Check the largest parts with your slicer before you start printing the model).
Adjust the print scale according to your printer's capabilities and the desired final size of the model.
The files provided are .stl files that you can retrieve from your favorite 3D file sharing platforms .
Models can be printed using PLA, PETG, resin etc… the settings depend mainly on the desired finish quality and your printer. It is generally not necessary to apply a large infill.
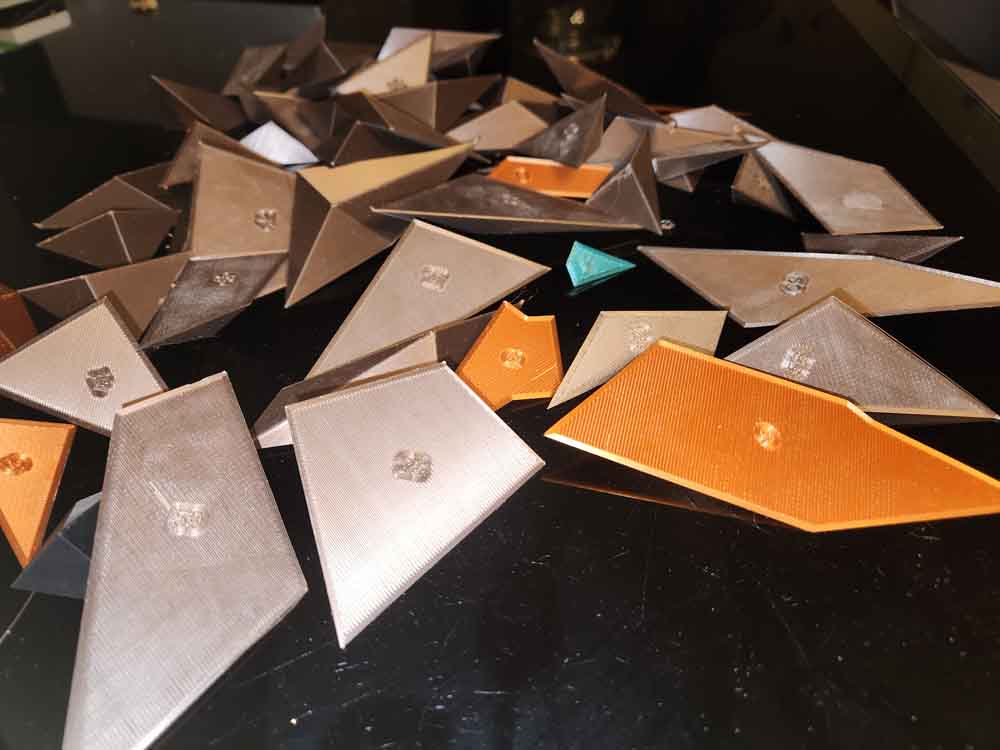
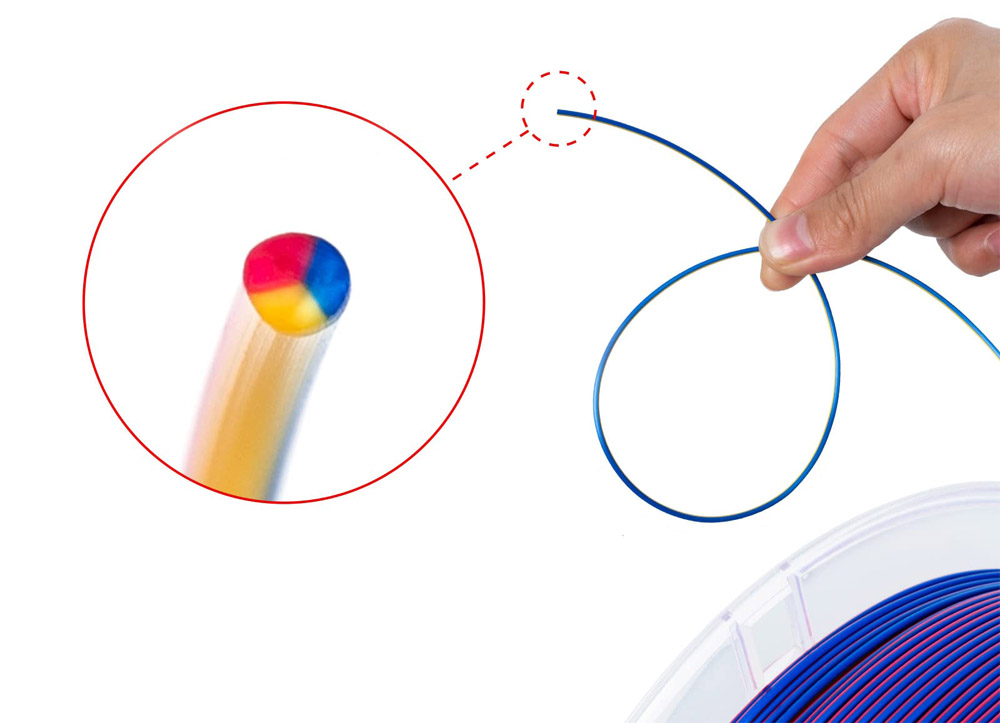
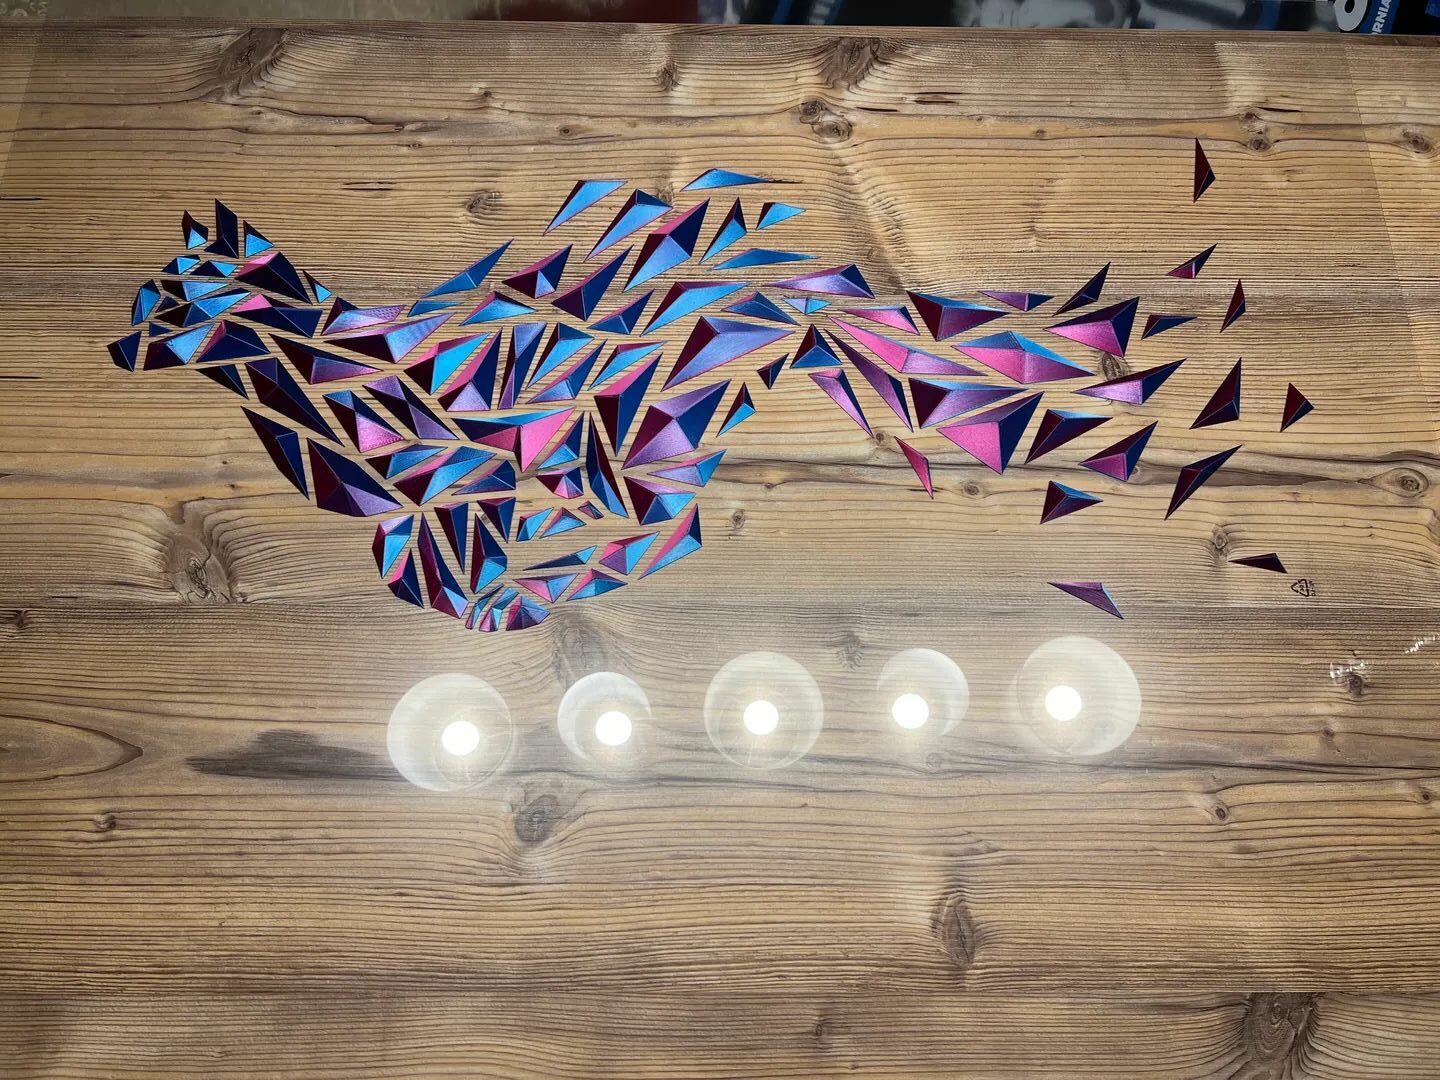
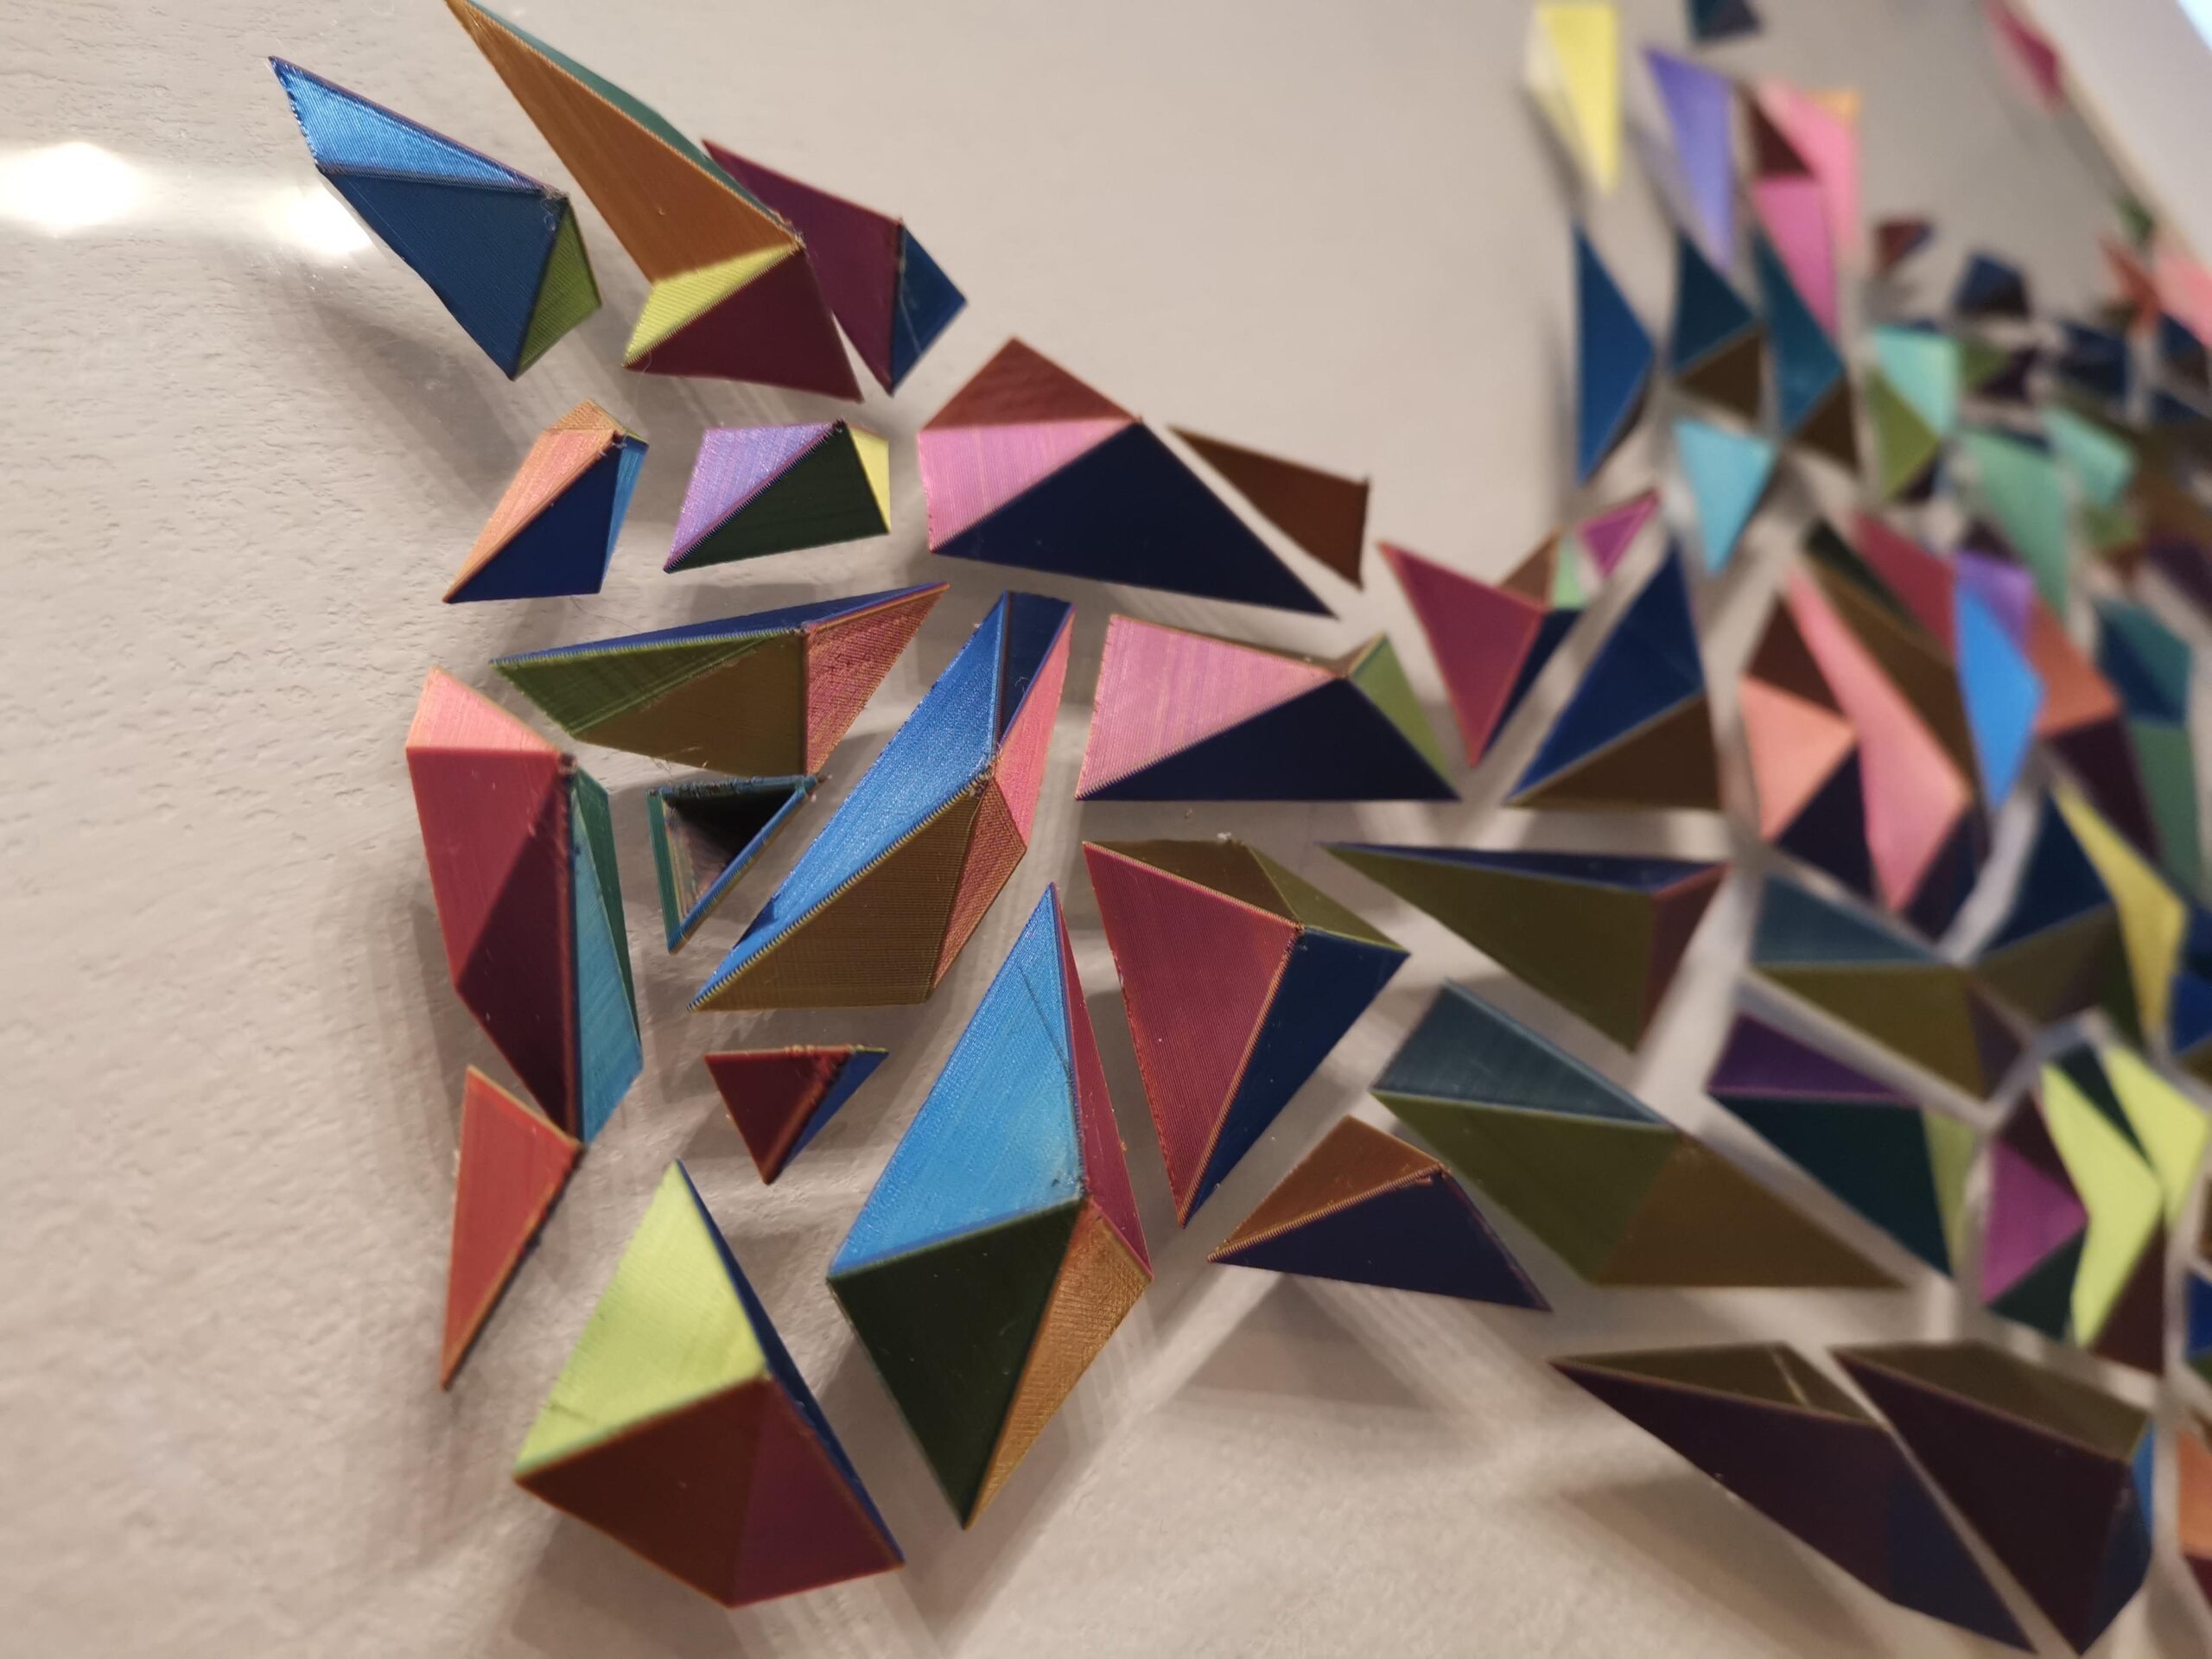
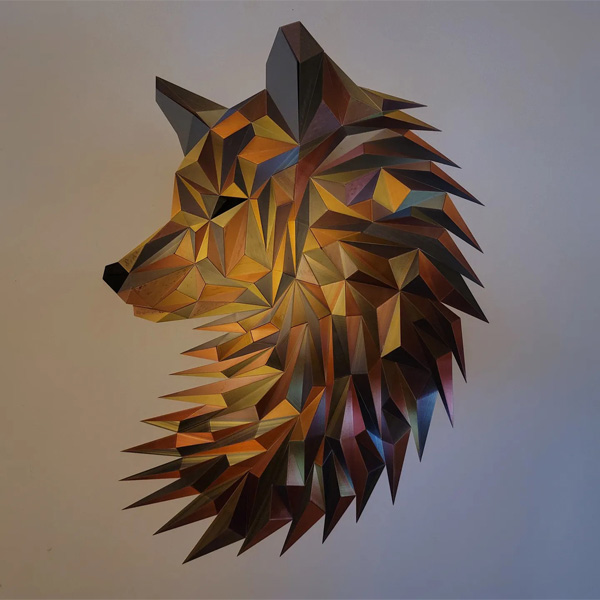
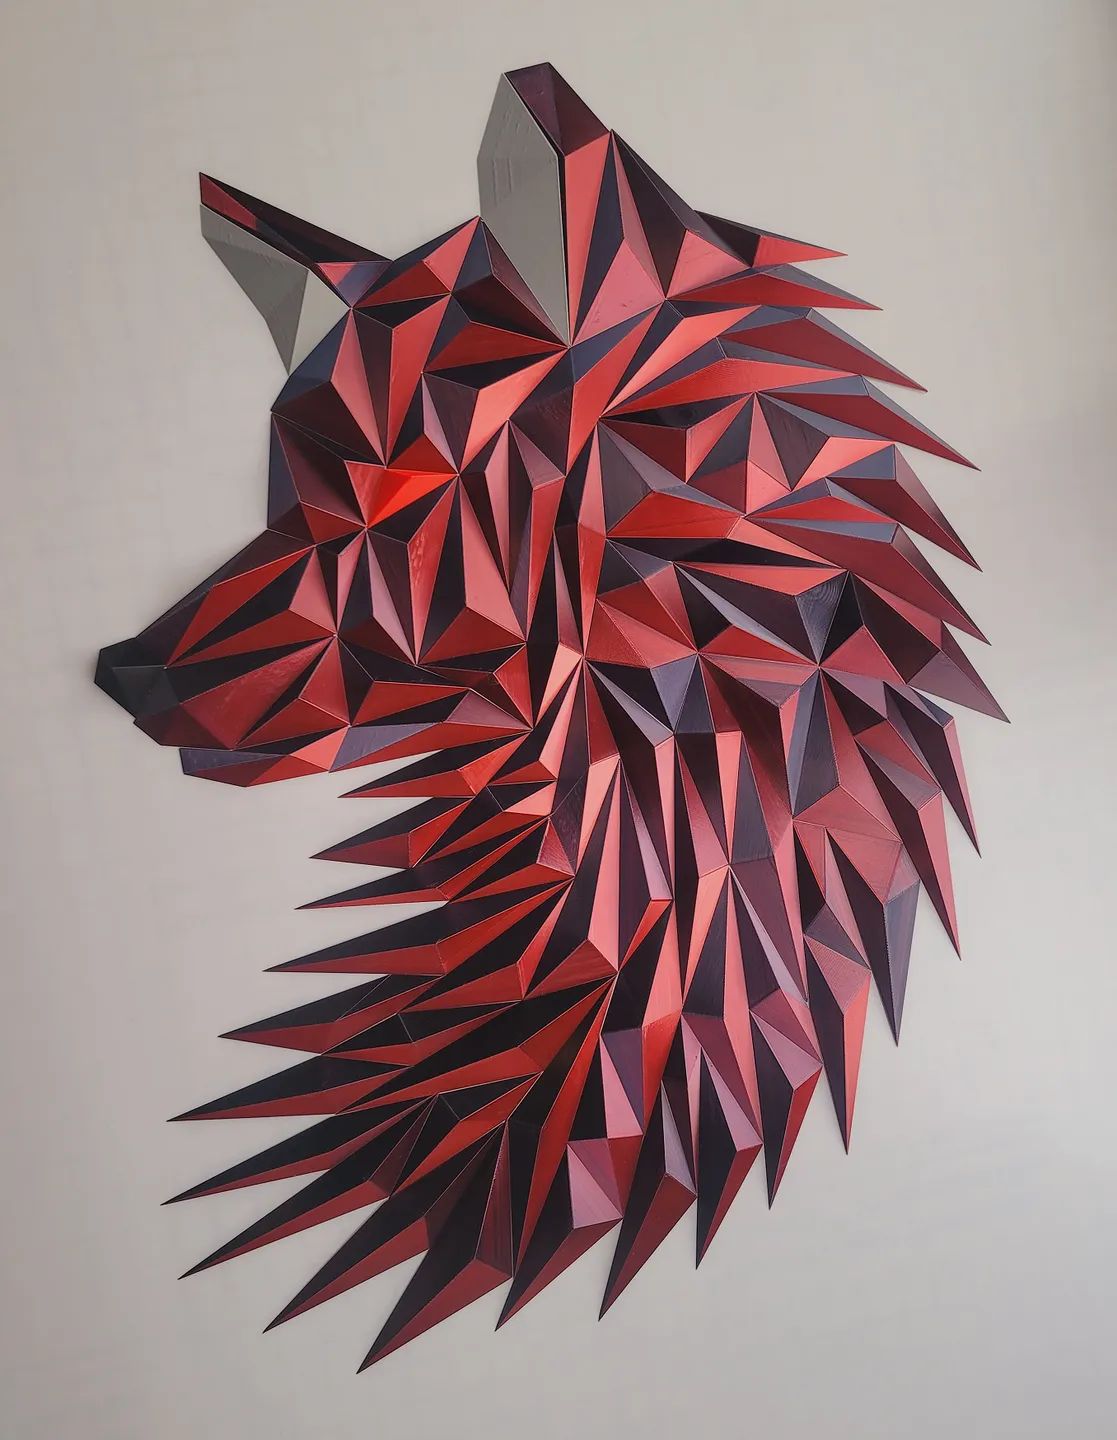
Note that the use of bicolor or tricolor filament gives a particularly interesting rendering when used on polygons. The use of shiny filament is also a good option which allows to generate a multitude of light reflections on the polygons and thus animates the design.
Identify parts
The parts are numbered on the back and a pdf plan with the positioning of the parts is provided for each model.
If you print the parts at a small scale, the numbers may not be visible… in this case, be sure to renumber the parts as soon as they are printed.
Place parts on wall or frame
To position and assemble the pieces, you can use a video projector, a “paper mask” (printable template) or use your freehand feeling.
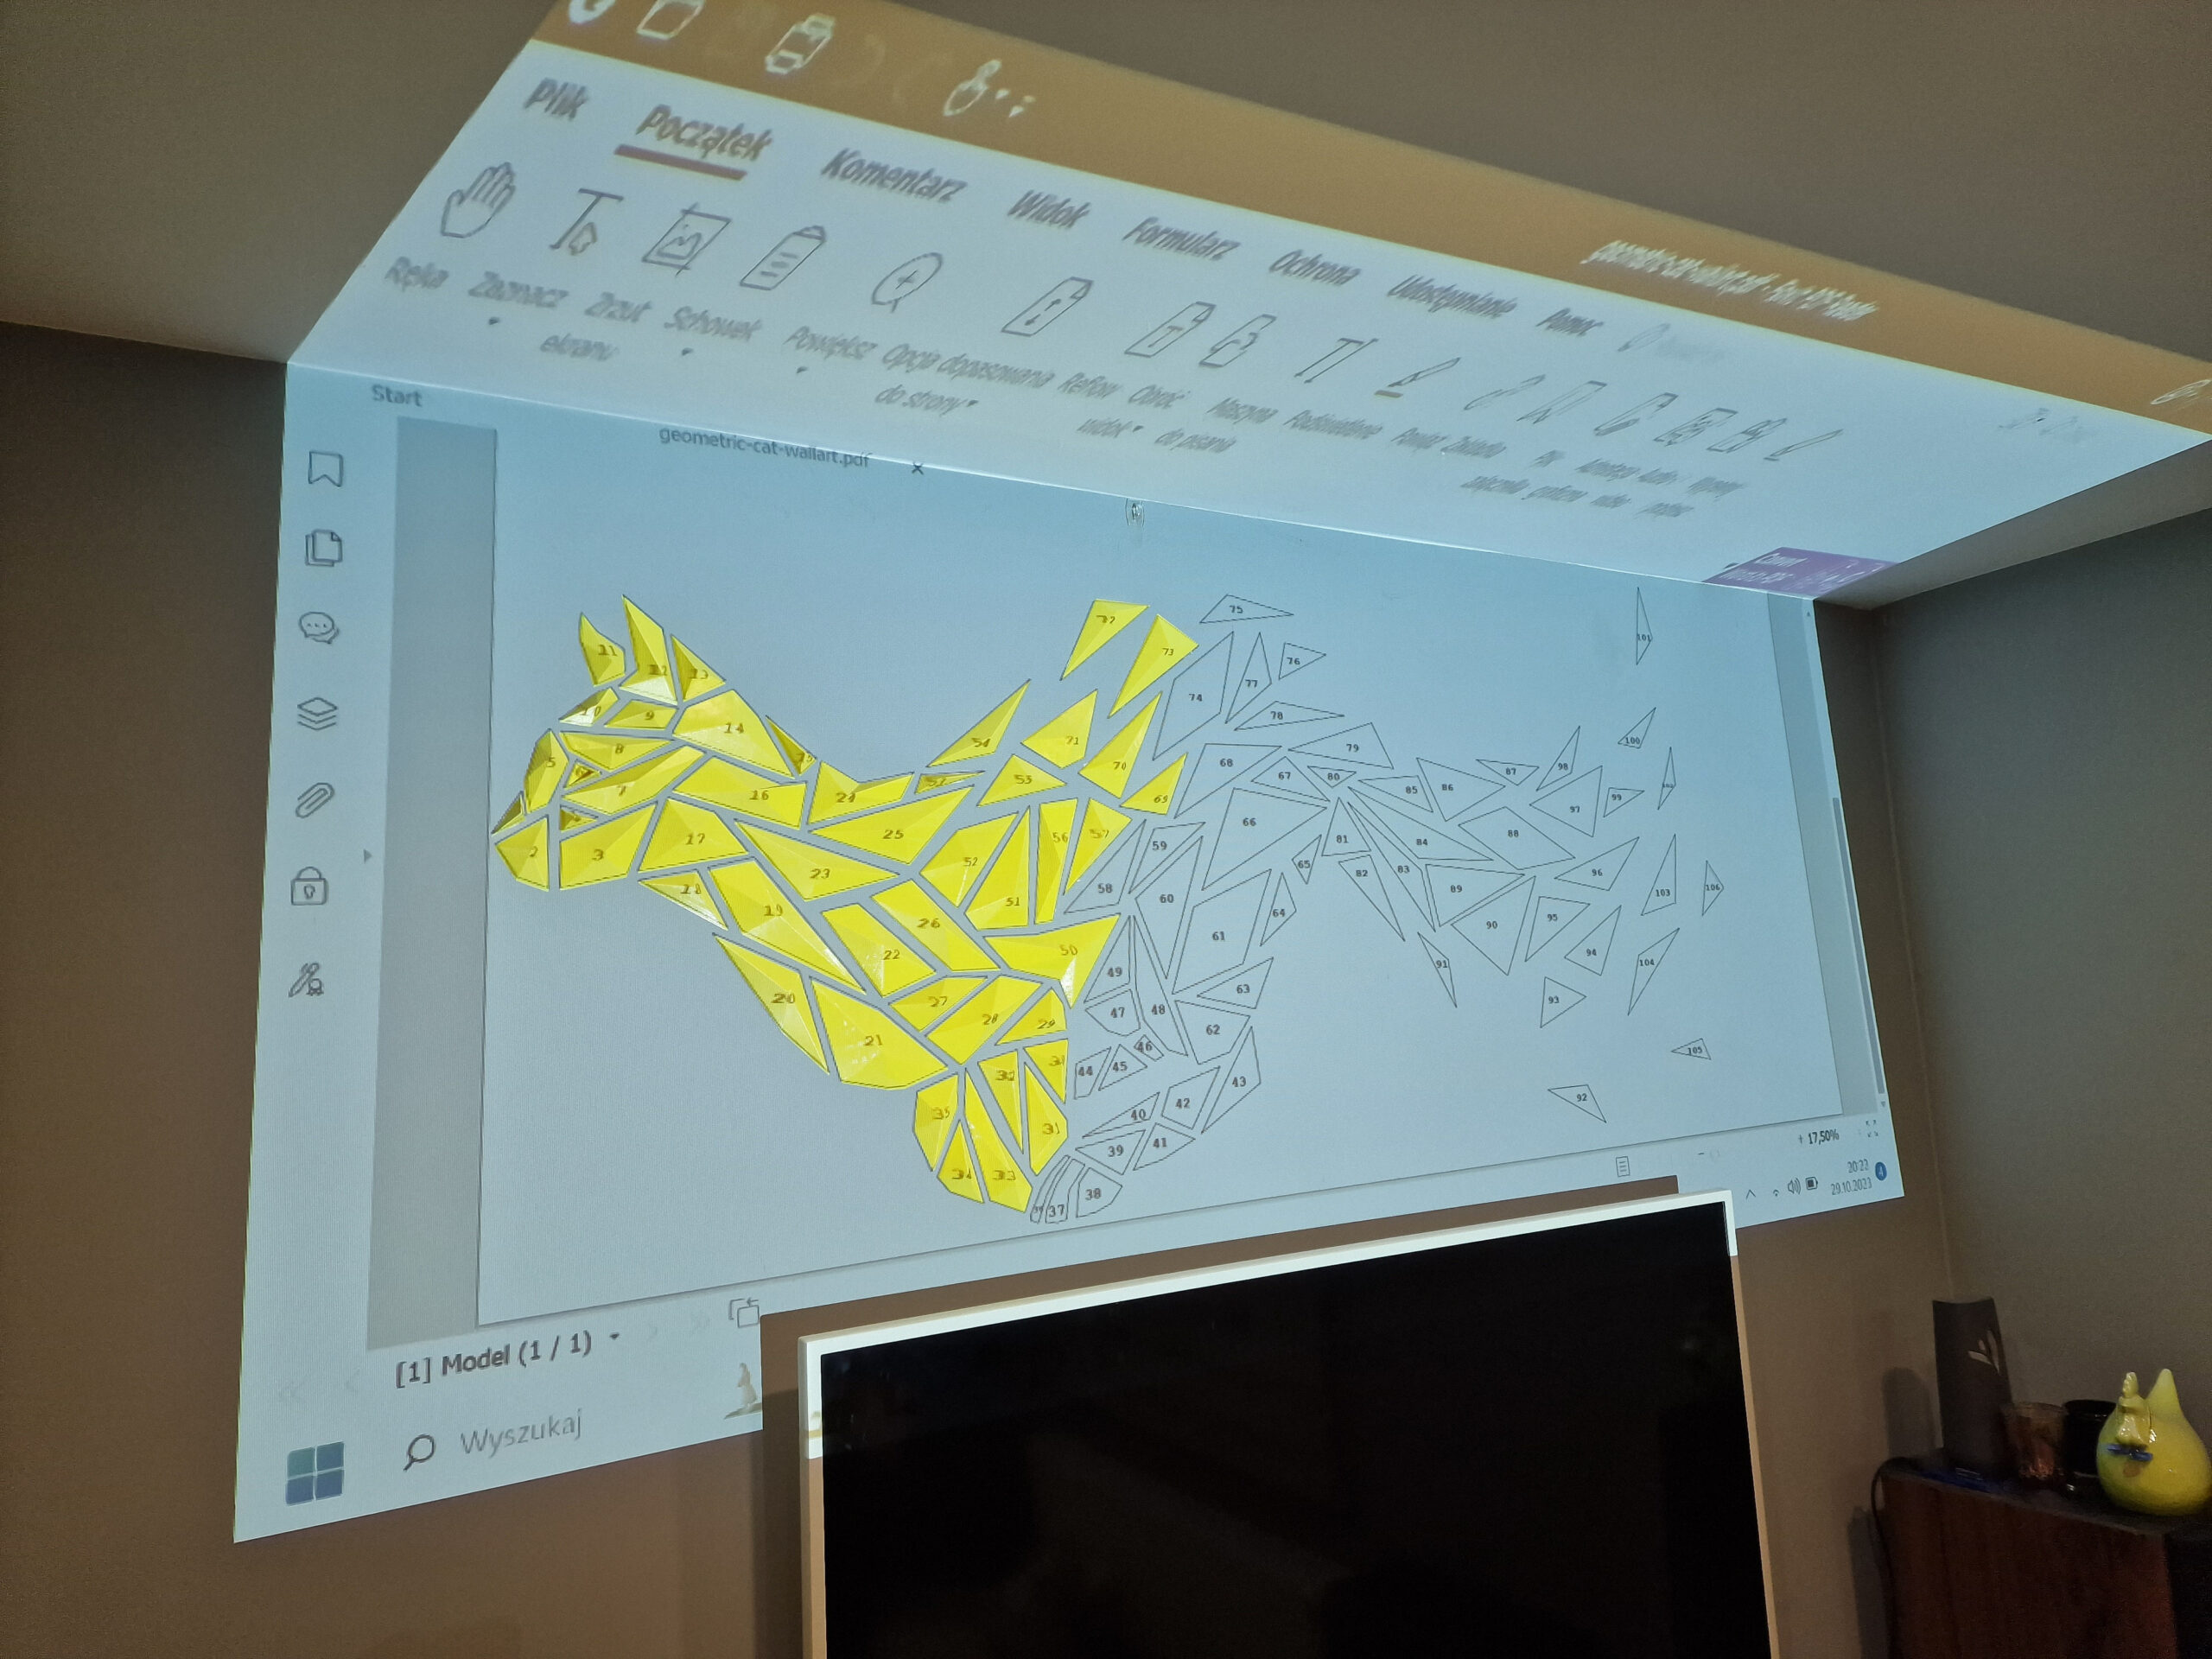
- Video projector
A “fullsize” pdf is provided, you just need to project it on the wall or frame, adapt the scale to your parts then place parts one by one.
- Jig “papermask”
Templates to print on A4 paper are provided for each model, in original size 100% "fullsize_multiA4.pdf" and at 50% scale "halfsize_multiA4.pdf".
Print the papermask (be careful not to add any extra margin), make the cuts and assemble the sheets with tape on your wall or frame.
If you want to print a papermask at a different scale or use a different paper size, you can use Adobe acrobat software (free version) and the pdf "fullsize.pdf" provided with the design. You will then be able to print in poster mode, at the scale of your choice and in the desired paper size

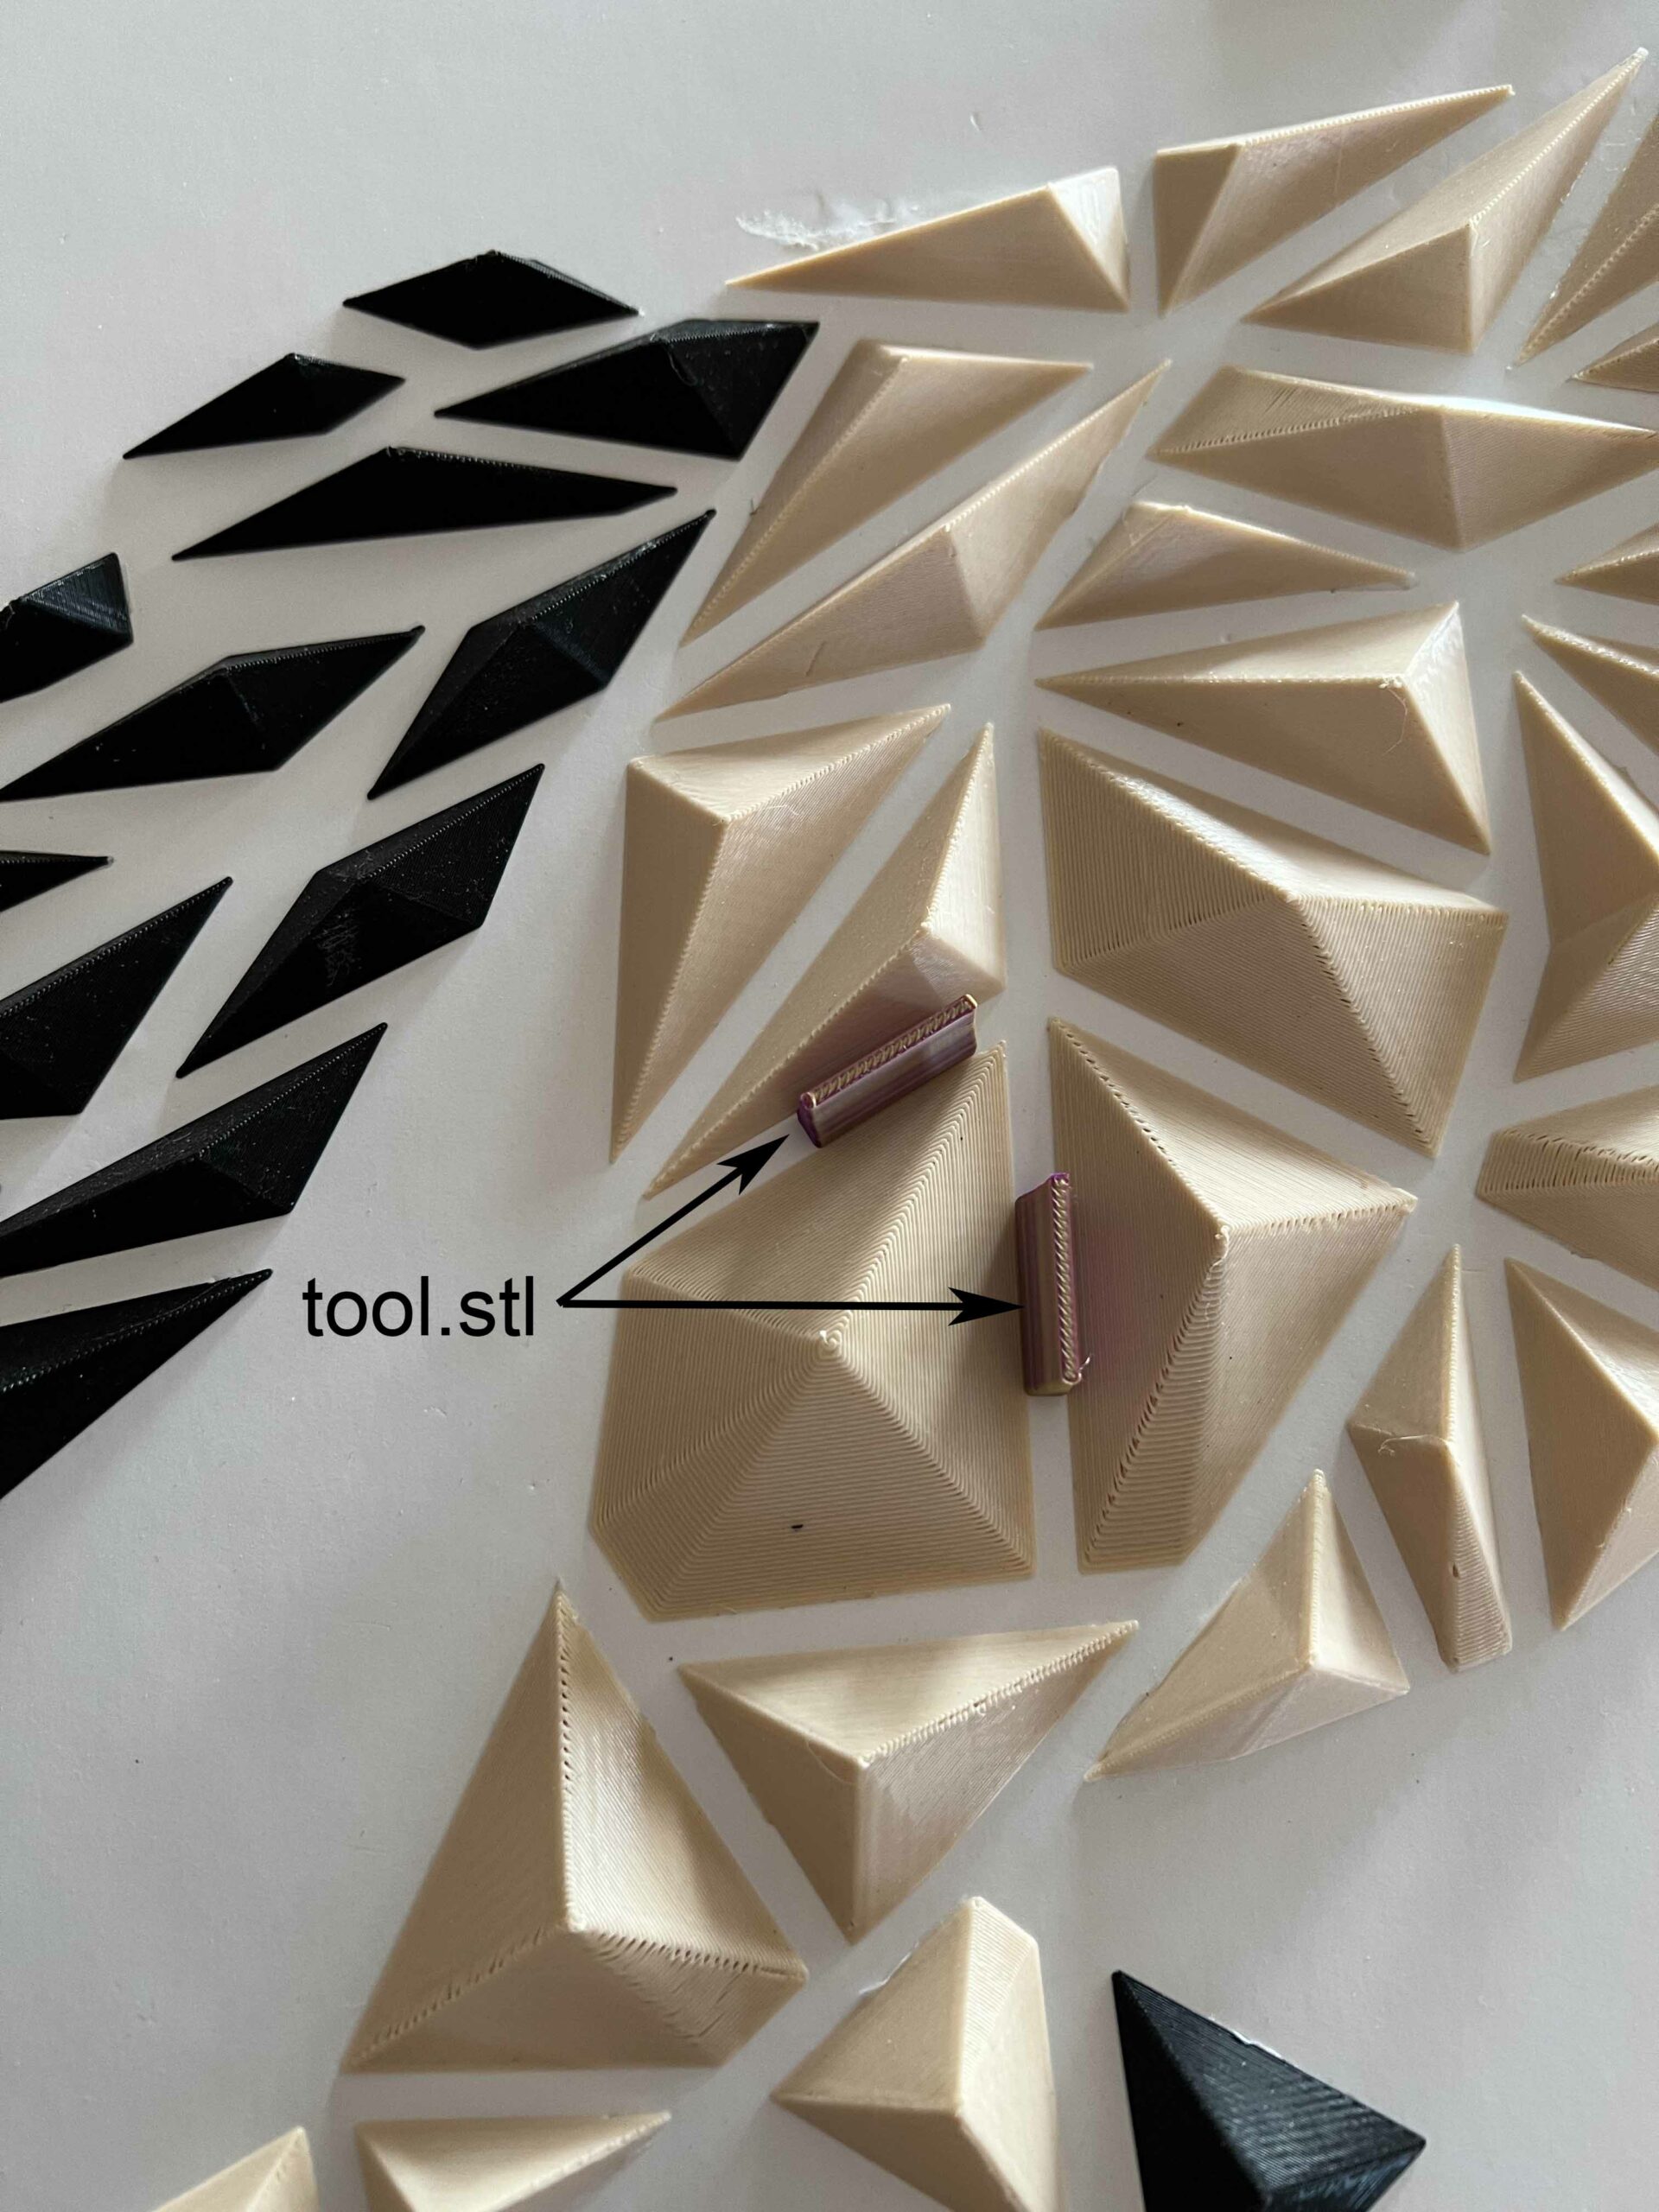
- tool.stl
For designs that have consistent spacing between parts, a printable tool "tool.stl" is provided to help you place parts.
To be printed in one or two copies.
- By feeling
You can exploit the pdf plan and install by hand without any other assistance, use your feeling…
Just make sure to level the first piece so that the design is correctly oriented. For this you can rely on the orientation of the numbering of the pieces or use a piece of the "paper mask"
Fix parts
The pieces are very light and require very little fixing. You can use any type of wall adhesive, example:
- Double-sided tape
- Velcro tape (allows you to reposition or replace parts and the small pieces of tape are also easier to remove from the wall without damaging the paint)
- Hot glue
- Patafix / blu-tack (you can use a small piece of paper tape between the wall and the paste to avoid leaving marks on the wall.
- …
Multi-colored filament
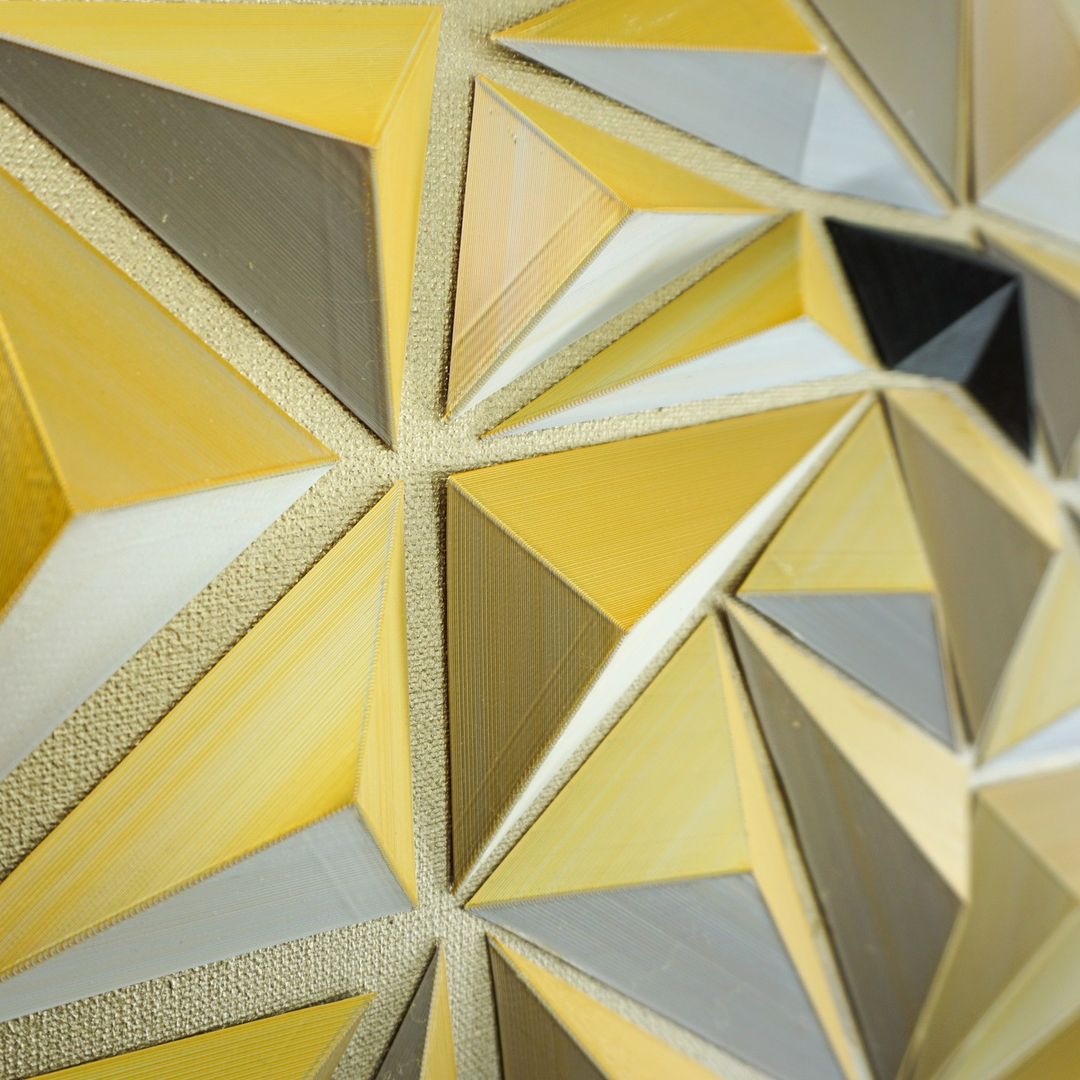
The use of bi-color or tri-color filament (extrusion of 2 or 3 colors simultaneously and on the same filament) on polygons allows you to obtain faces of different colors depending on their orientation
Create your own design
If you want to create your own design, you can use the method I use with Fusion 360 software. The method is presented in the video tutorial below (in French):
L.S.
I started to print the fox.
I use PLA Tricolour filament from Ziro and print the fox with shades of brown.
My question to you is, how did you get the color shades in the print. (Is it something with the orientation in the slicer?)
I use a Bambulab A1 printer and Bambulab studio.
Sincerely, Bert Dammann.
dammann@hetlyceumvos.nl
hello, if you want to have the same color orientation on each part you definitely need to mangage the orientation on you slicer. for that, you can refer to the number orientation embossed at the back of each part.